
Instructions for your DIY Scarf Kit
Welcome to your personal natural dye kit instruction page!
Please read the green instruction sheet included in your kit before getting started. Follow along with this page for helpful hints and pictures of the dyeing process!
-
Check It
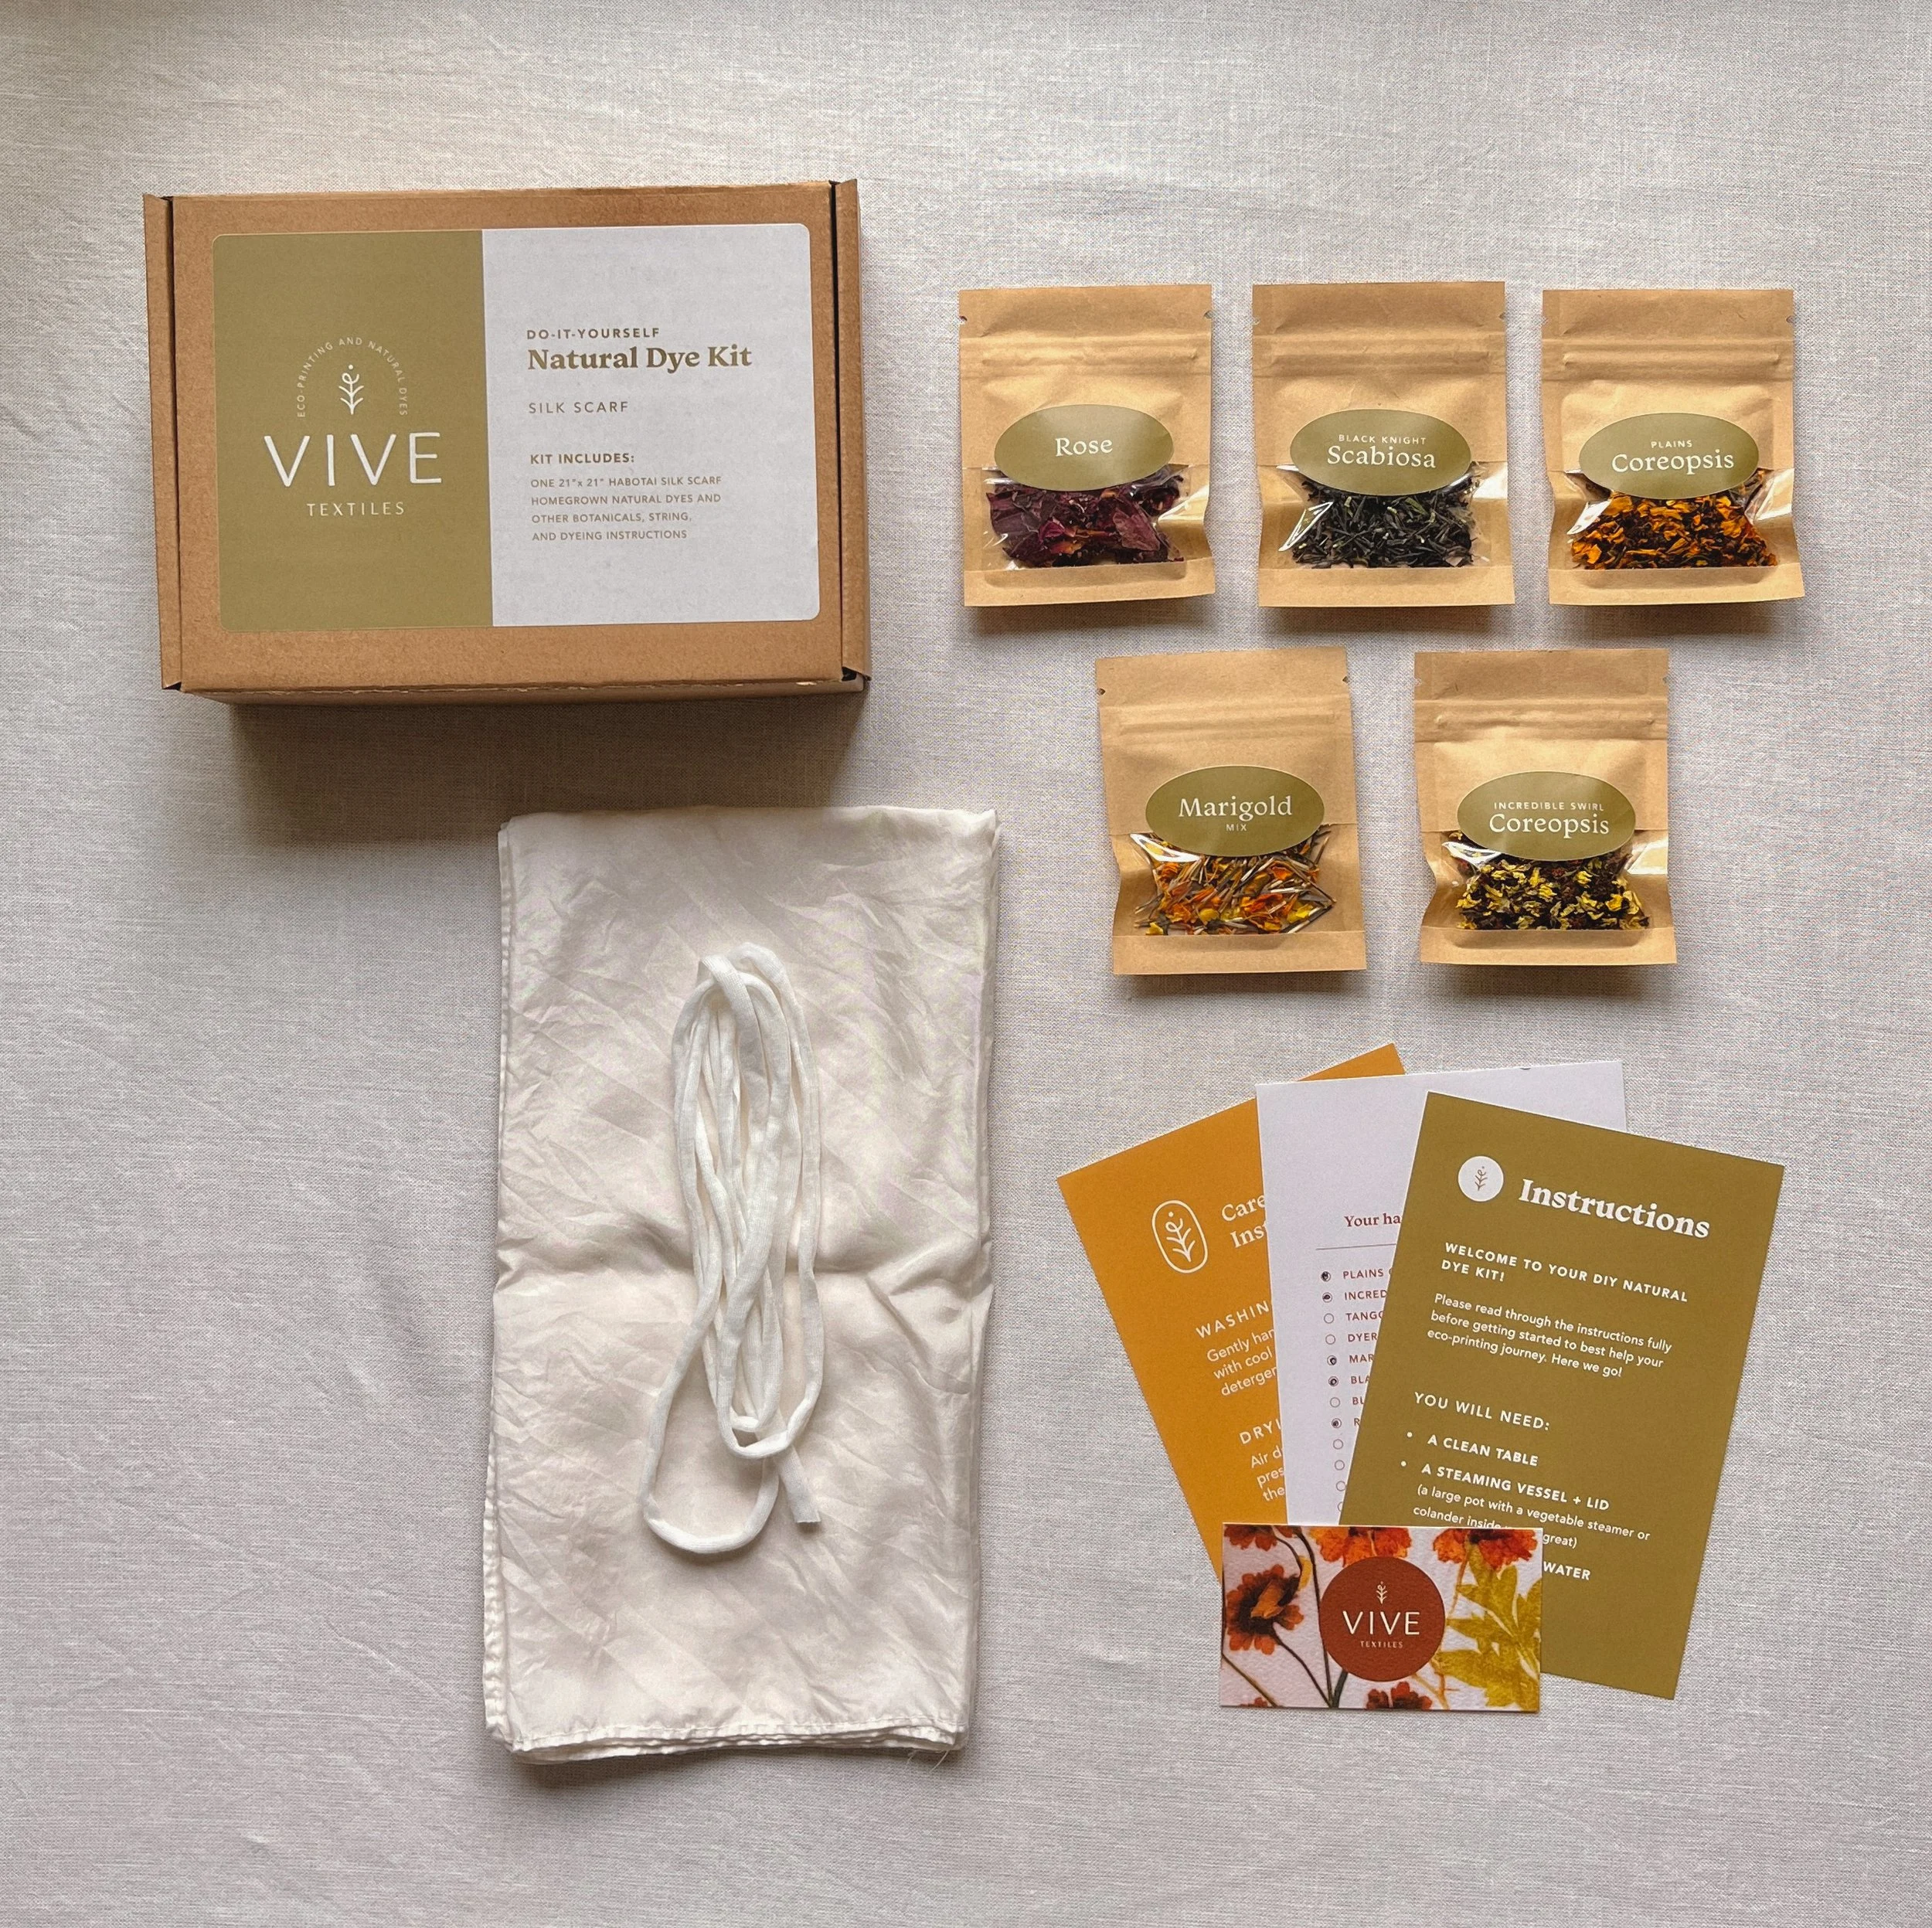
First, make sure everything here is included in your kit. Now is the time you’ll want to set up your steaming vessel so you can pop the bundled silk in once you’ve finished designing it.
I recommend using a large metal pot filled with a few inches of water and a colander/strainer/veggie steamer that can perch on top of the pot. You want to be able to put a lid (doesn’t have to be air tight) on top to create a good steam environment for the silk.
The biggest tip is to make sure your bundle does not touch the water level or it will turn the whole scarf blurry. I like to get the water simmering while I make the scarf, and then get it to a rolling boil before adding the bundled silk.
-
Step 1
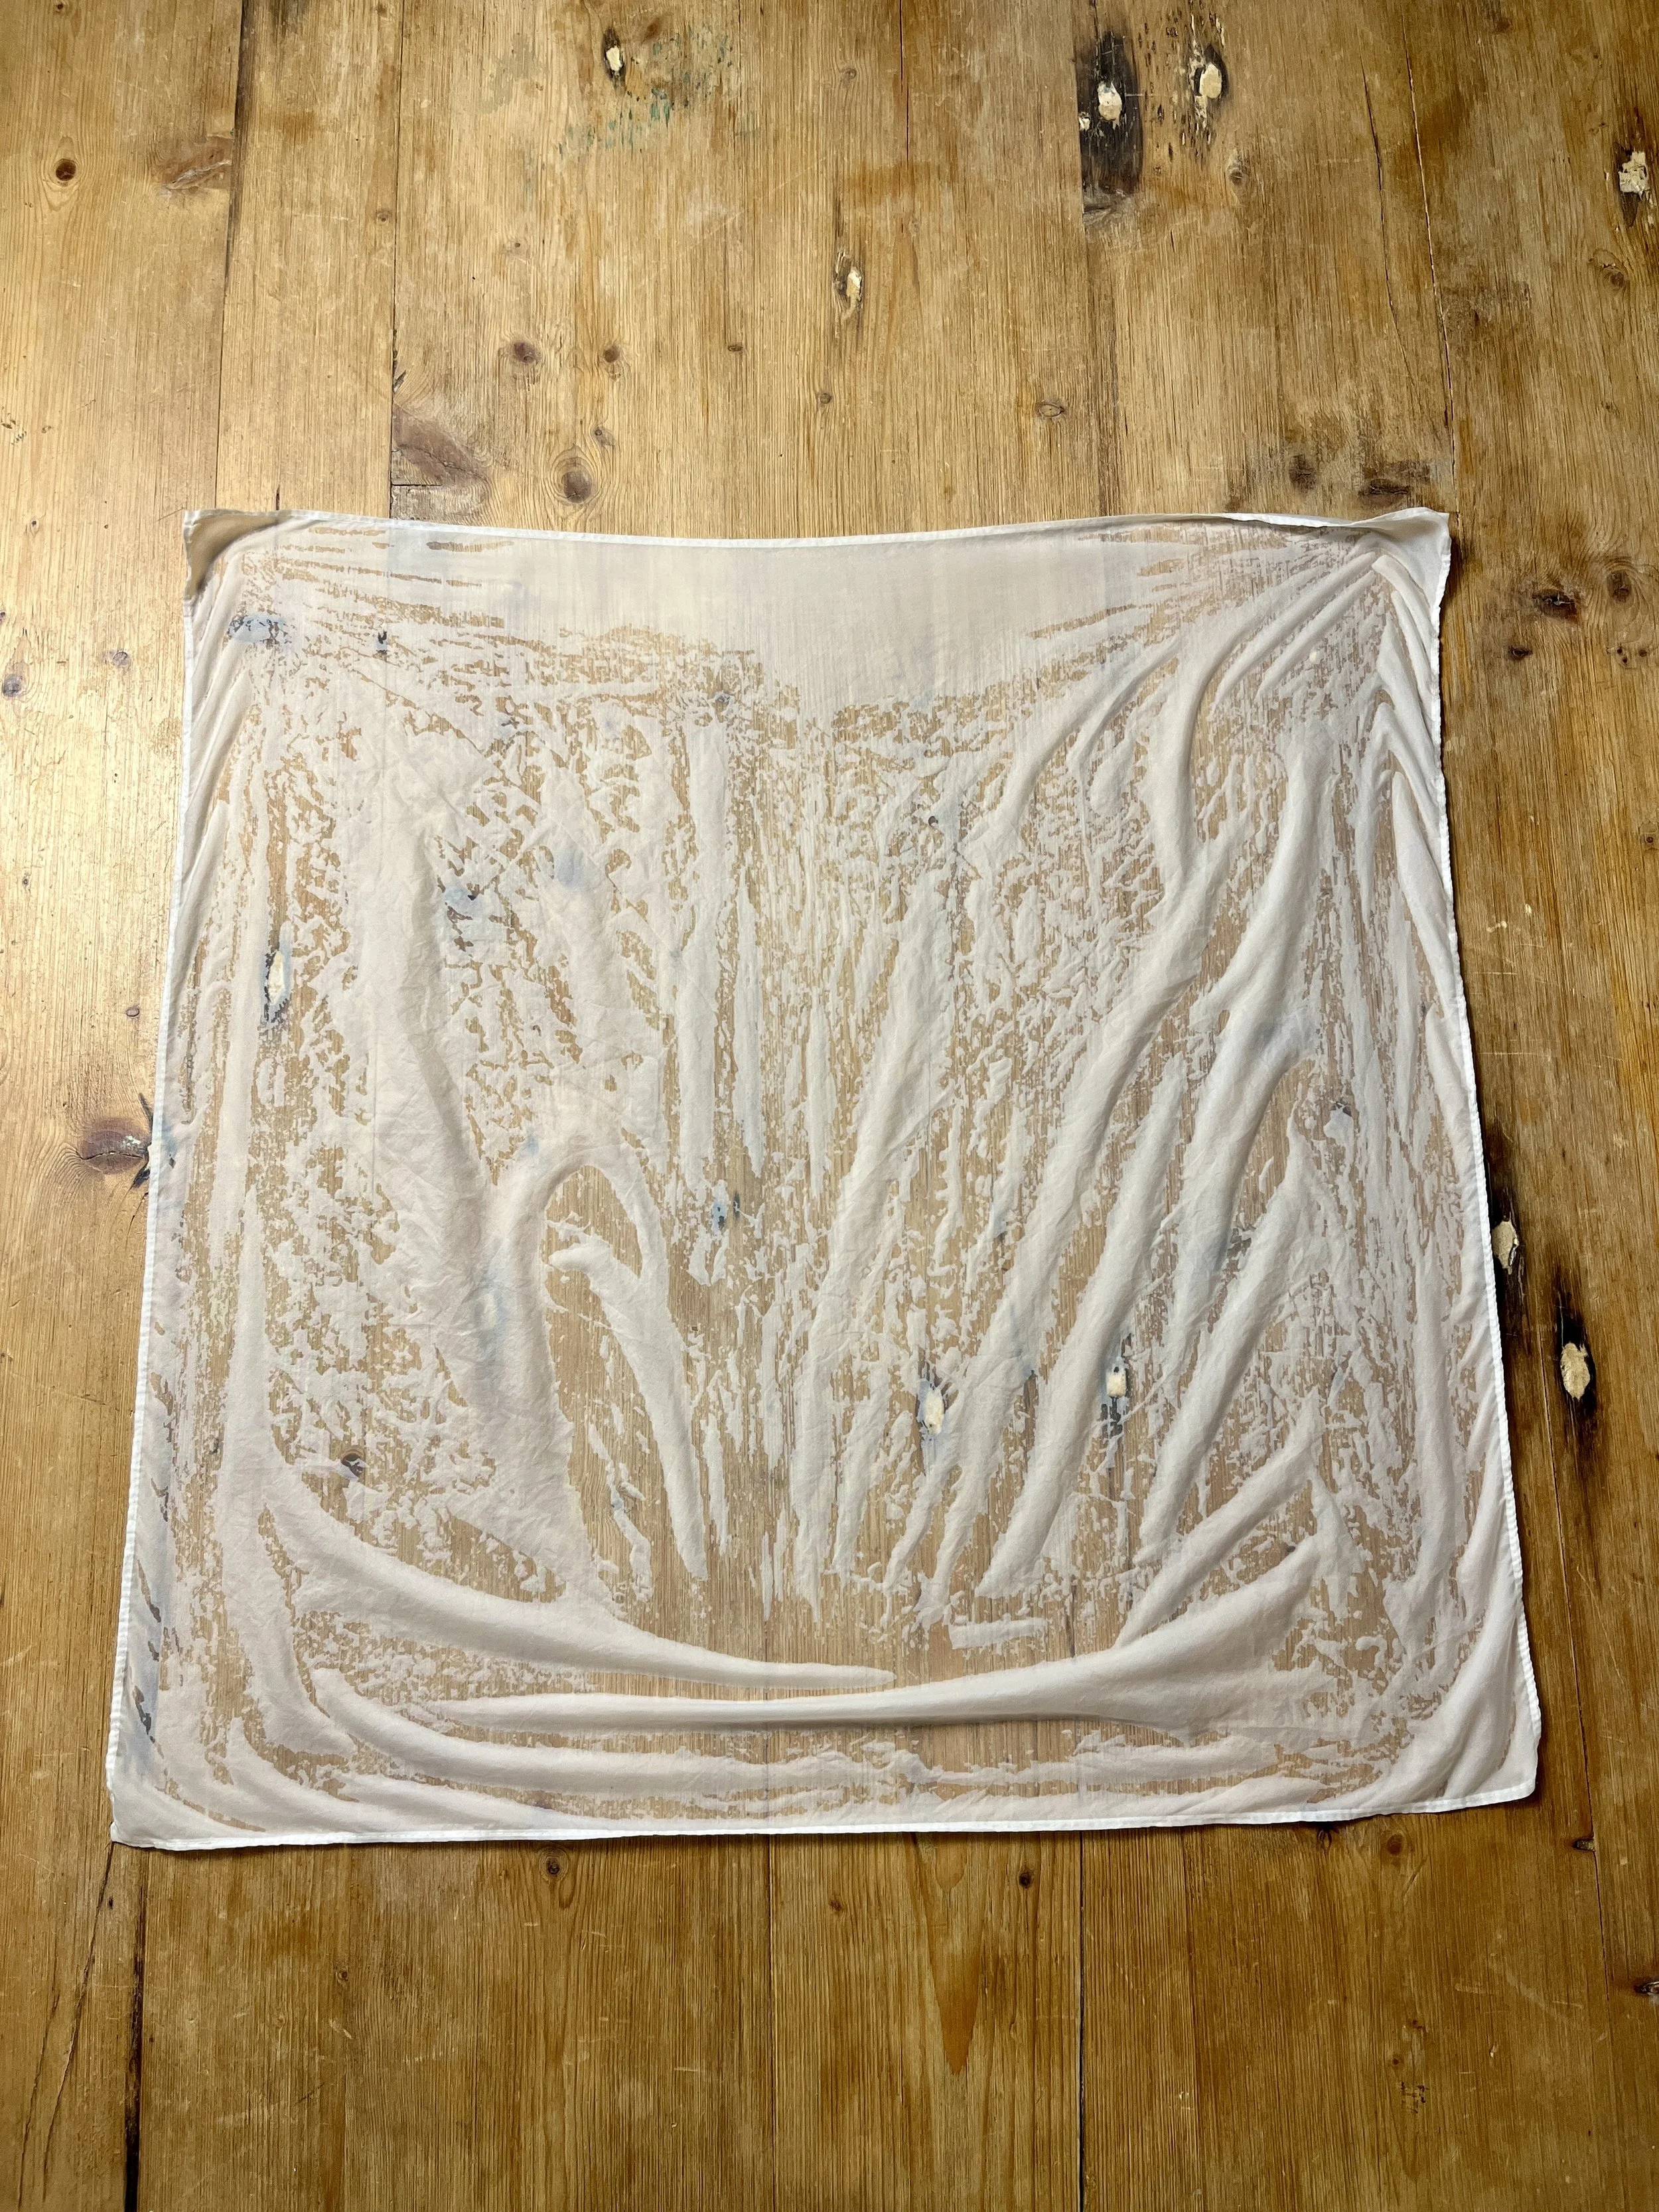
Rinse your silk under the faucet using room temperature water. Make sure to saturate the entire silk and wring it out. Lay it flat on a clean surface, pressing out as many wrinkles as you can.
-

Step 2
Add the included flowers. The white sheet will tell you what colors the flowers will make. You are encouraged to use your own local foliage, flowers from your yard, turmeric (lightly) and onion skins from your pantry! The more dyes, the more colorful your results will be.
Note that the silk will start to dry out if the design process takes a while. (more than 5 minutes) You can lightly spray it with water to rehydrate it or add about 1 tbsp of water to your bundle before adding it to the steamer. The water acts as a rehydrator for the dye and must be present, but the silk should not be soaking wet. (Talk about a goldilocks-type situation!)
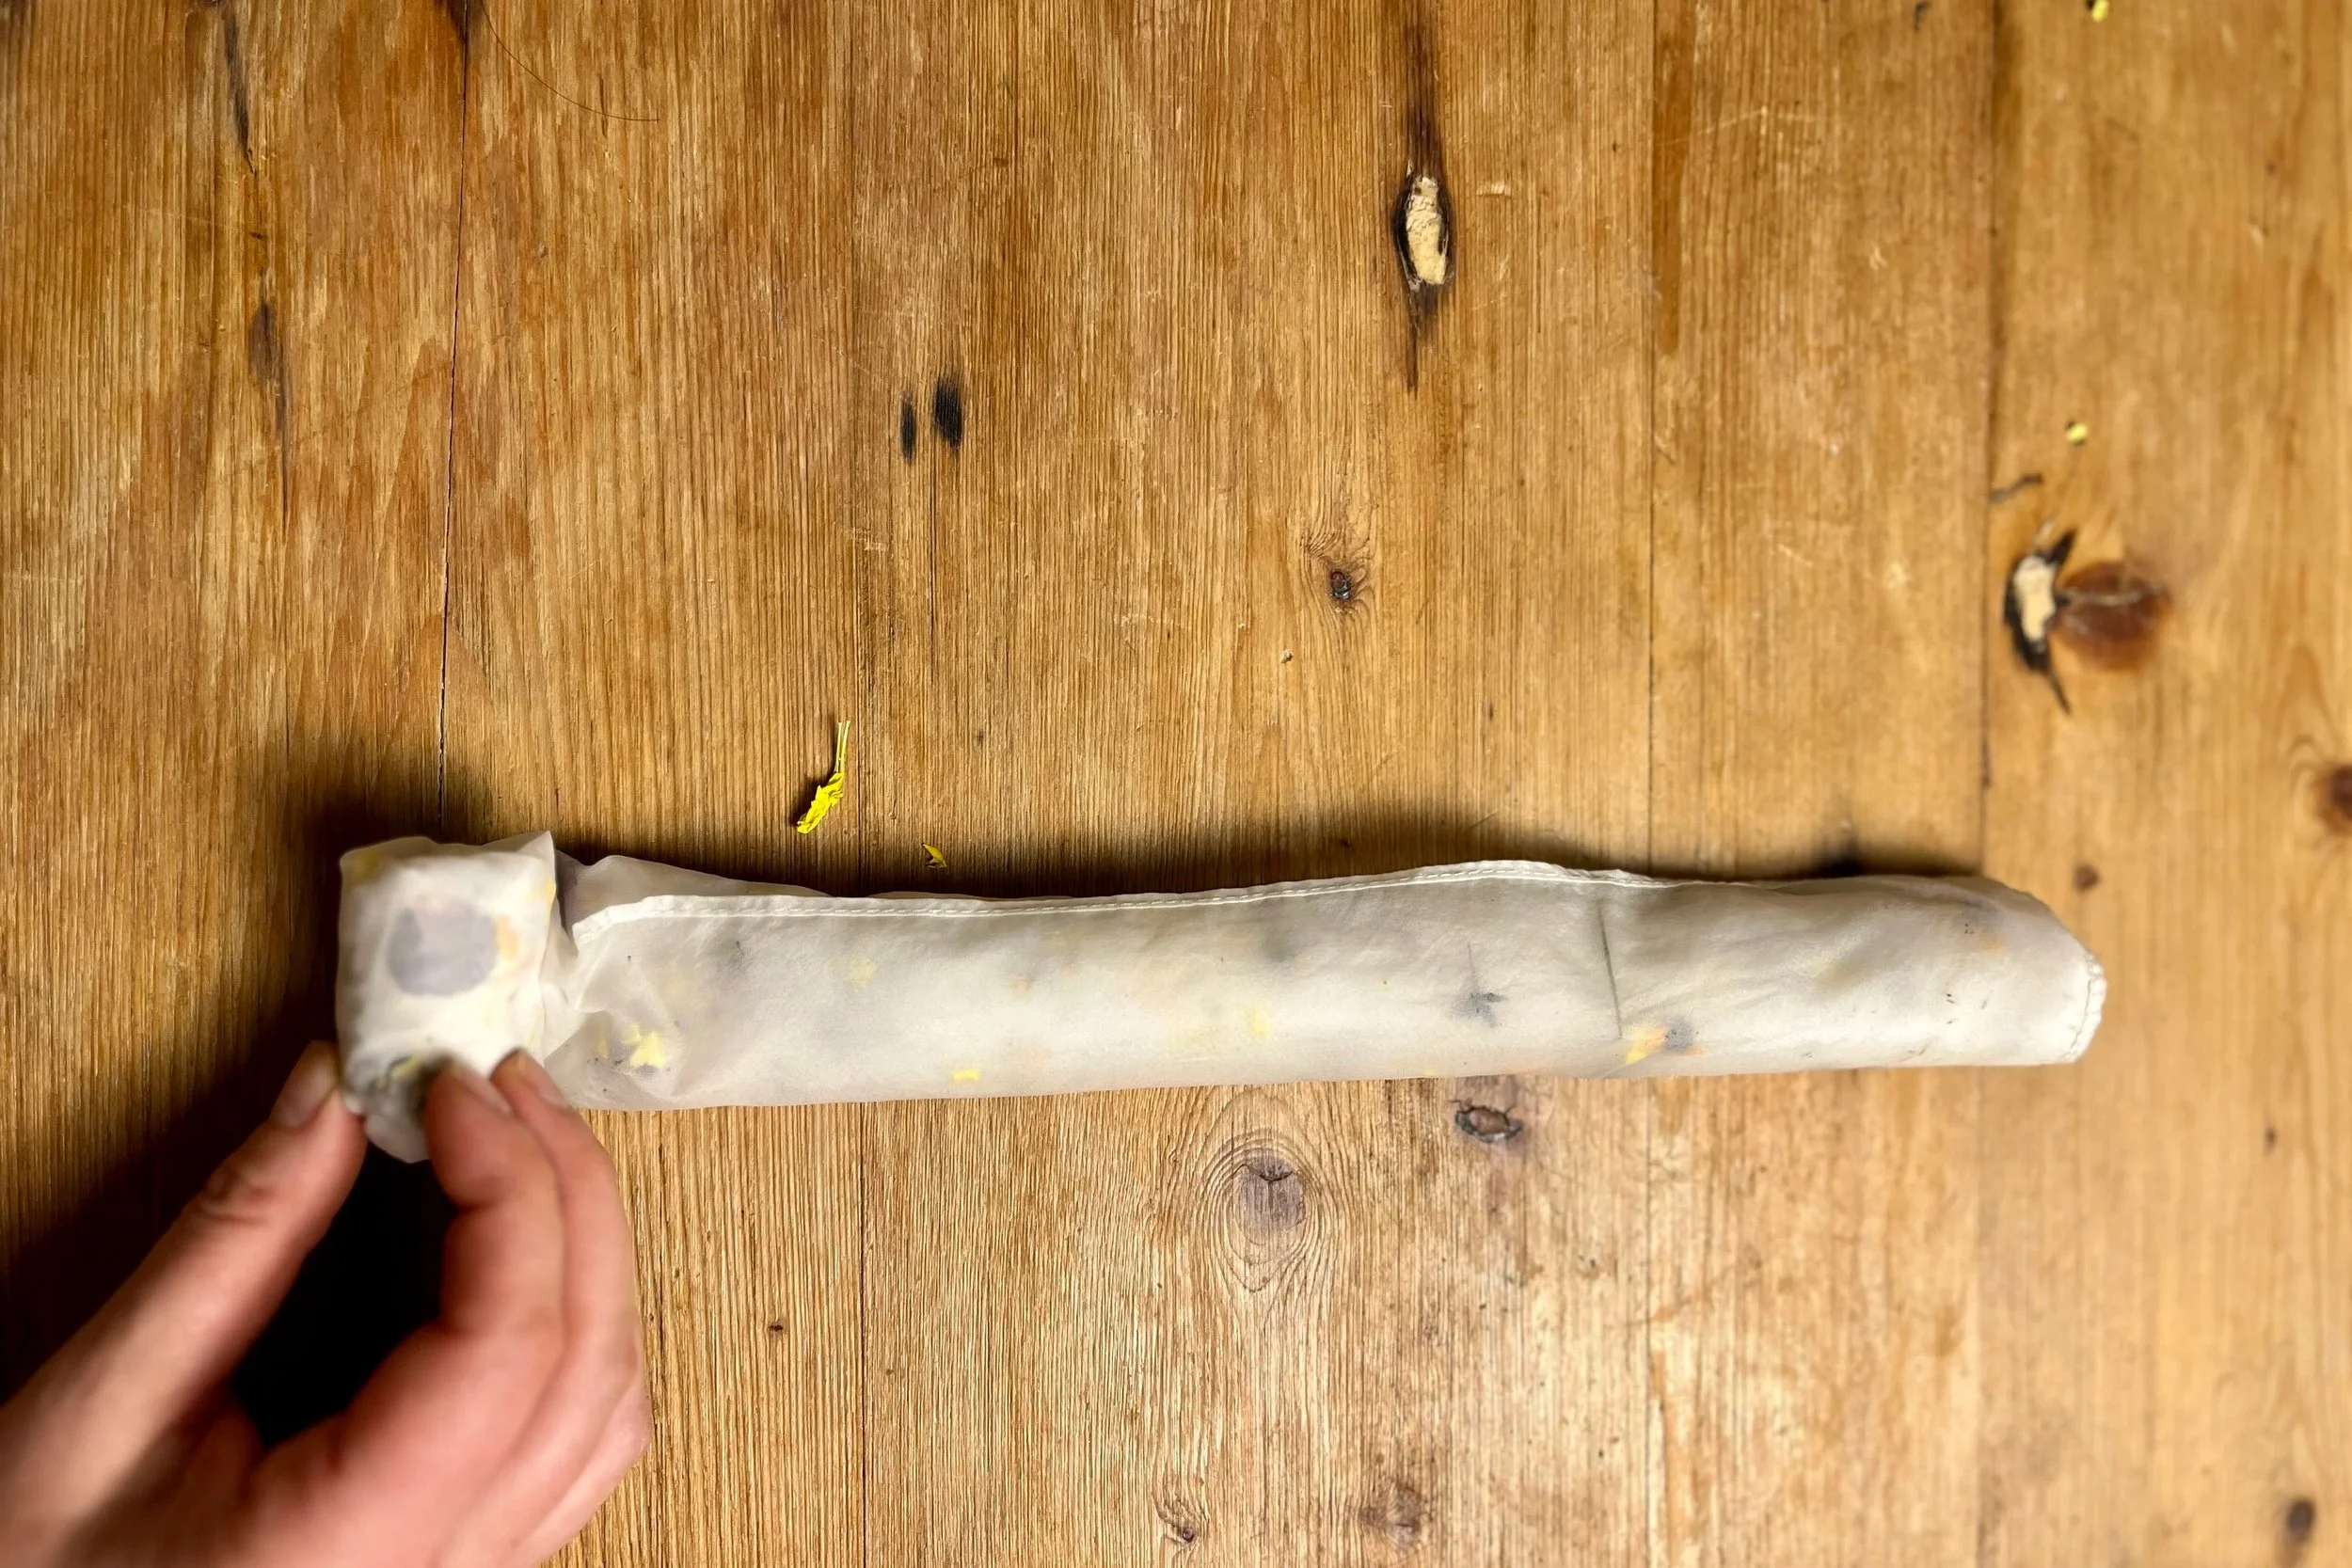
Once you are happy with the design, starting from the bottom, roll neatly and tightly all the way up until it looks like a tube.
-
Step 3
Starting from one end, roll the (already rolled up) silk again the other way until it looks like a nice little spiral bundle. Secure it tightly all around with the string provided.
-
This is how it should look before heading into your steamer.
-
Step 4
Carefully place your bundle into your steamer, and put the lid on. The water should be boiling now and you will start to see color coming through the scarf within minutes.
Make sure your water level does not dry out! Some water will drip onto your scarf and that is okay. The more wet your scarf is, the more it will give a watercolor effect. Steam for 20-30 minutes, turning your bundle half way through using tongs.
-
Step 5
Once your steaming is finished, let the scarf cool off for a few minutes. I like to take it outside to unravel it so the spent flower bits go back to the earth. I recommend letting the scarf air dry out of sunlight for a couple of days. Refer to the yellow care sheet for instructions on washing + ironing. Some dye will rinse off in the initial rinse and that’s okay, it’s just extra that did not adhere to the scarf.
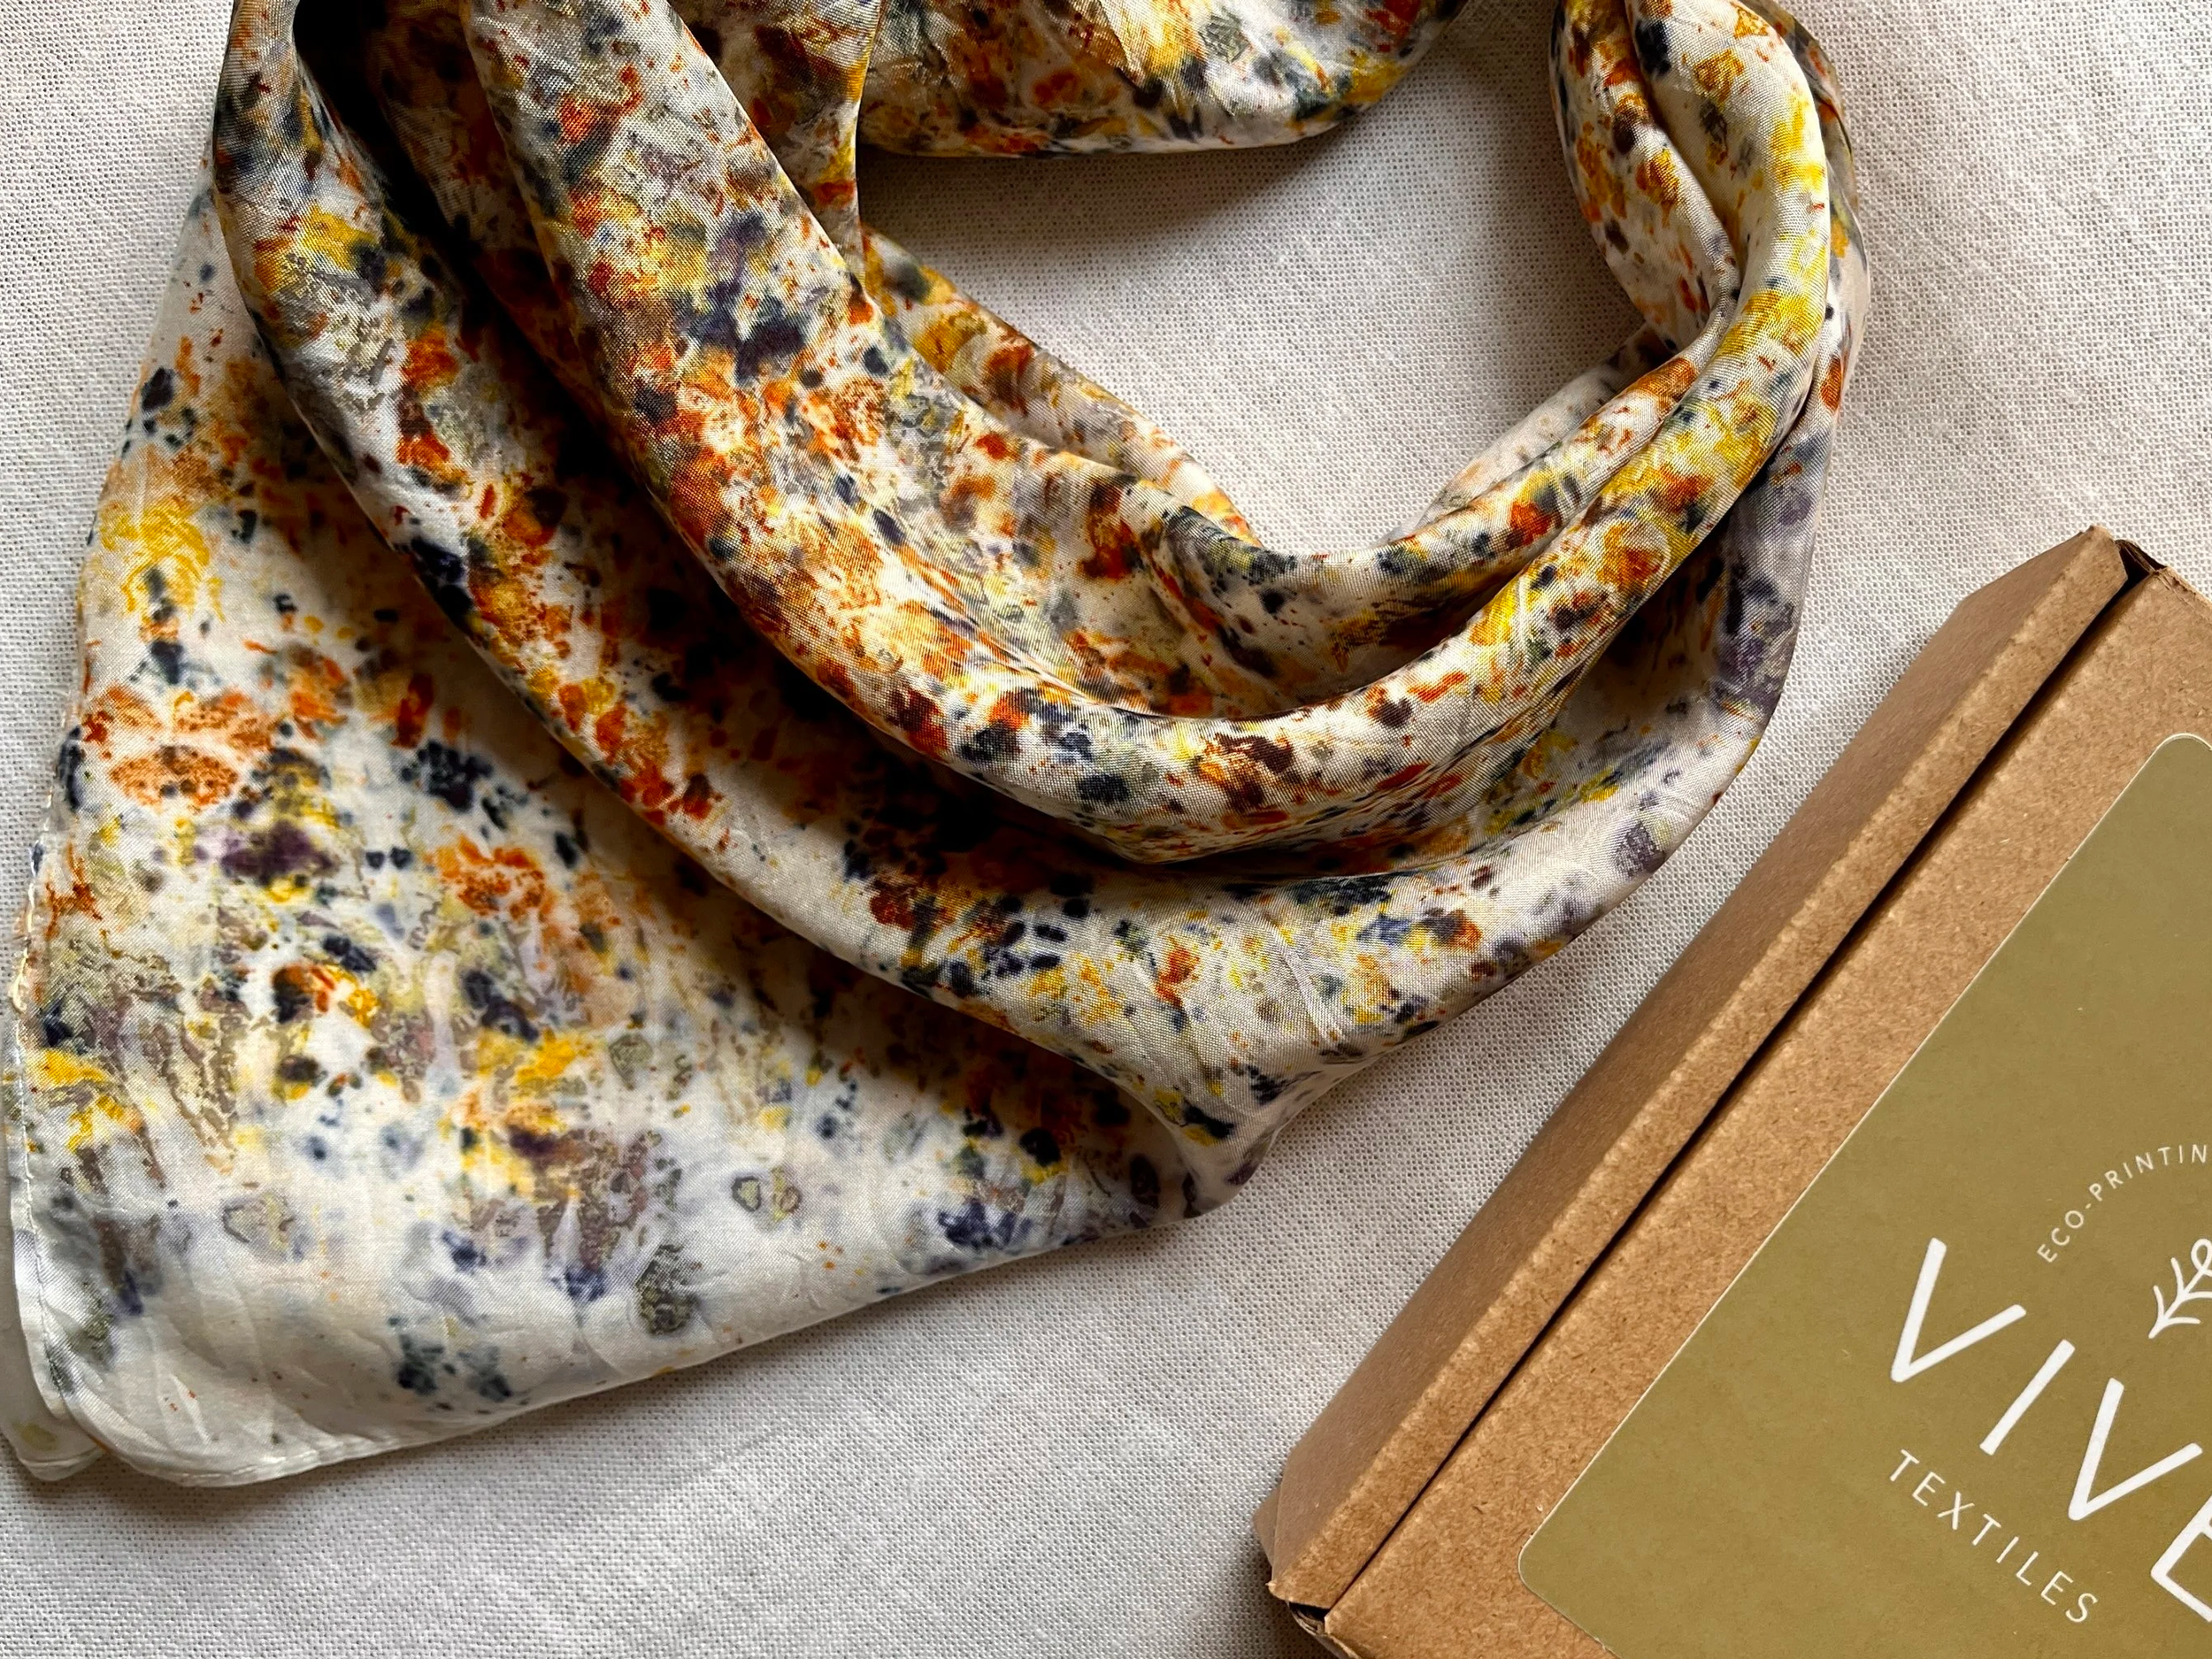
I hope you enjoyed creating your very own wearable art with my homegrown flowers and silk. Please reach out to me with any questions, and welcome to being a natural dyer!